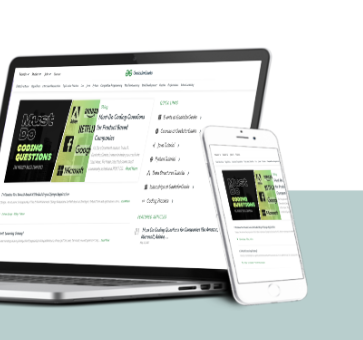
Hey! Do you have a website? And want to make an android application for your website. But you don’t know about coding. Don’t worry! this is very simple. Read this article carefully & you’ll get ready to make your android app. Follow the full Process. Let’s Start!
Required Software for app development
I don’t waste your time to detailing about uninteresting things for a beginner just install two software are following :
- Java JDK : This is Java Programming toolkit for our PC. to install this software click here
- Android Studio : This is Android’s official Coding Environment where we’ll make our app with few lines. to install android studio software click here
Install and Setup the Android Studio
Just find out Java JDK in the Download directory and install this toolkit. After it, install the Android Studio from your download directory. To Install Android Studio just click on the installed AndroidStudio.exe file. And if you know nothing that how to install software just click here to learn how to install android studio step-by-step.

Make project in android studio
Let’s open Android Studio After Installment Click on New Project Button android.

After it, a page will be opened where you specify how activity type. For the initial Choose Empty Activity and click on Next Button.

And then finally name your project android to choose java as a Programming language. Choose Minimum API level 5.0 (Lollipop) for better experience.
Use your website domain name or other unique package name after com. Never use “example” word in Package name. But I am making an example app so that I am using example within package name.

Start Making App With Android Studio
After clicking finish our coding environment is ready to code. Here you can find two different files MainActivity.java and activity_main.xml. Just Copy and paste code given below carefully.
MainActivity.java : This is a java code file. You need to copy the code given below in this file
public class MainActivity extends AppCompatActivity {

    WebView webview;

 @Override
    protected void onCreate(Bundle savedInstanceState) {
        super.onCreate(savedInstanceState);
        setContentView(R.layout.activity_main);

              webview = findViewById(R.id.webview);

              webview.loadUrl("Your website Url");

    }

}
activity_main.xml : This is android designing (Framework) xml file. Copy and paste here this code.
<RelativeLayout xmlns:android="http://schemas.android.com/apk/res/android"
    xmlns:tools="http://schemas.android.com/tools"
    android:id="@+id/activity_main"
    android:layout_width="match_parent"
    android:layout_height="match_parent"
    tools:context=".MainActivity">

    <WebView
        android:id="@+id/webview"
        android:layout_width="match_parent"
        android:layout_height="match_parent"
        />

</RelativeLayout>
😍😍You are great. Finally you have created android app for your website. Let’s run this application in your mobile by enabling developer mode in your phone’s about section. Let’s see the result… Happy Coding </>


